Part 2!
Part 2 may seem boring, but is essential to your build. Checking the head space!
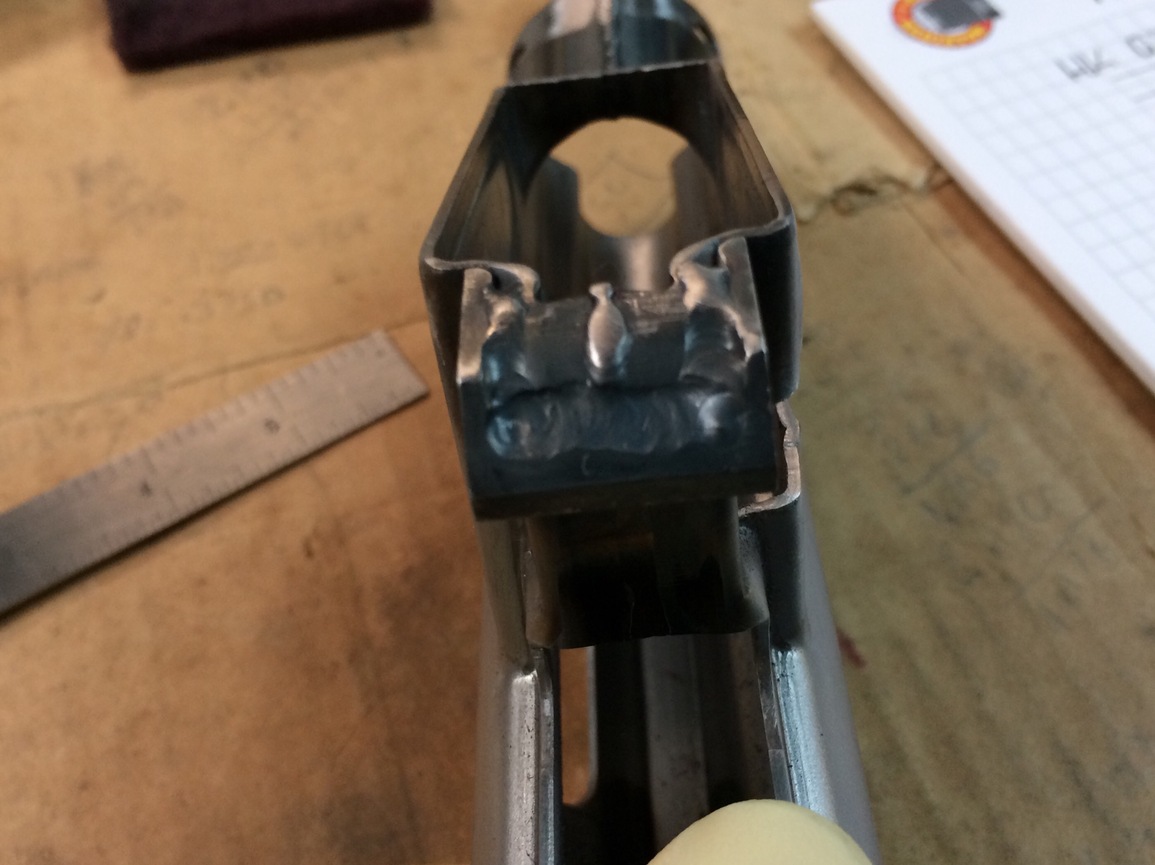
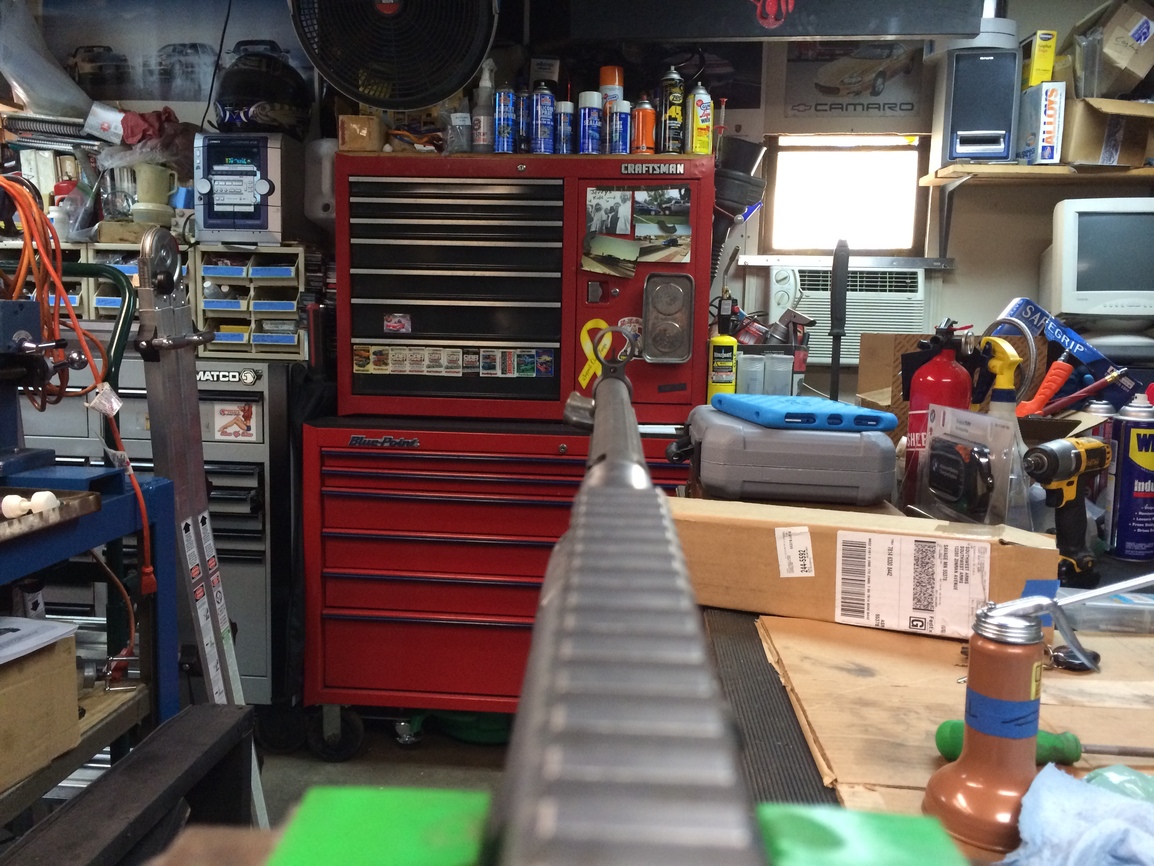
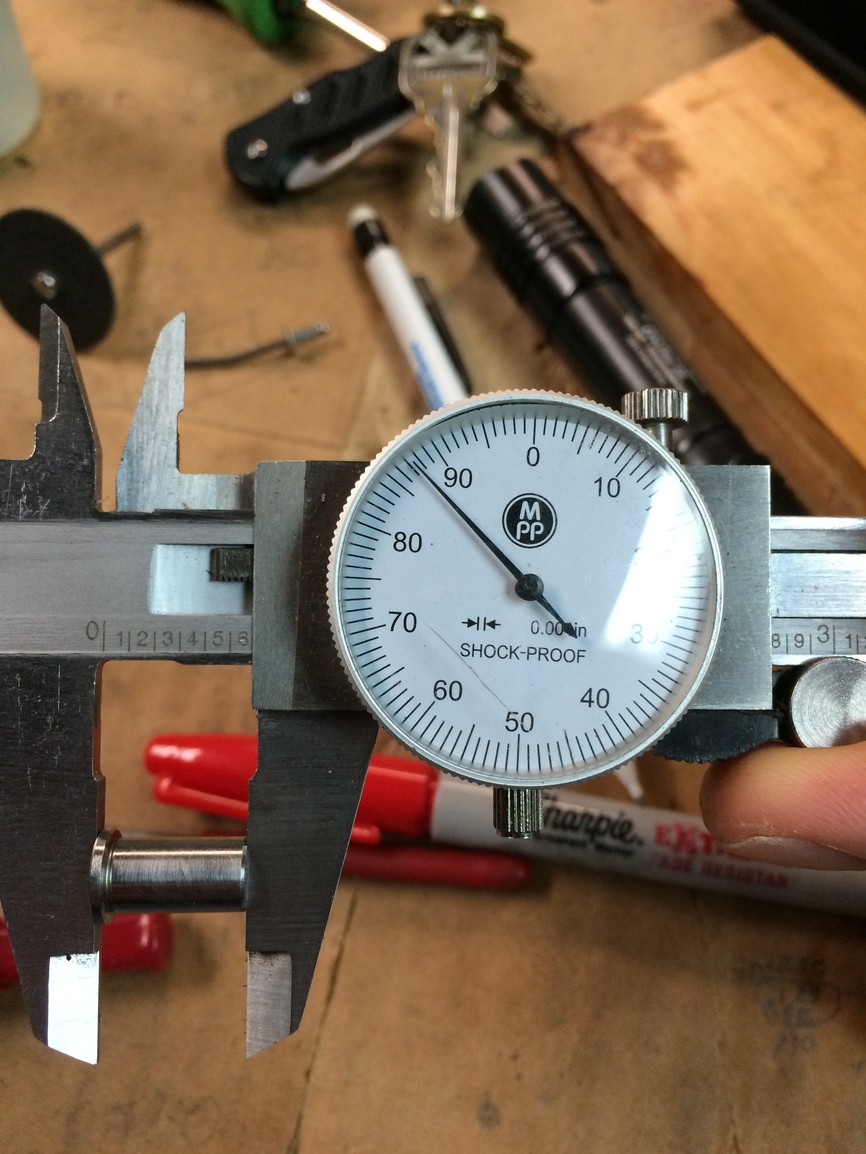
Take your bolt/ carrier assembly and barrel and trunnion, insert your go gauge and lock in the rollers into the trunnion. Now measure with feeler gauge to measure the space between the back of the bolt head and the front of the carrier.

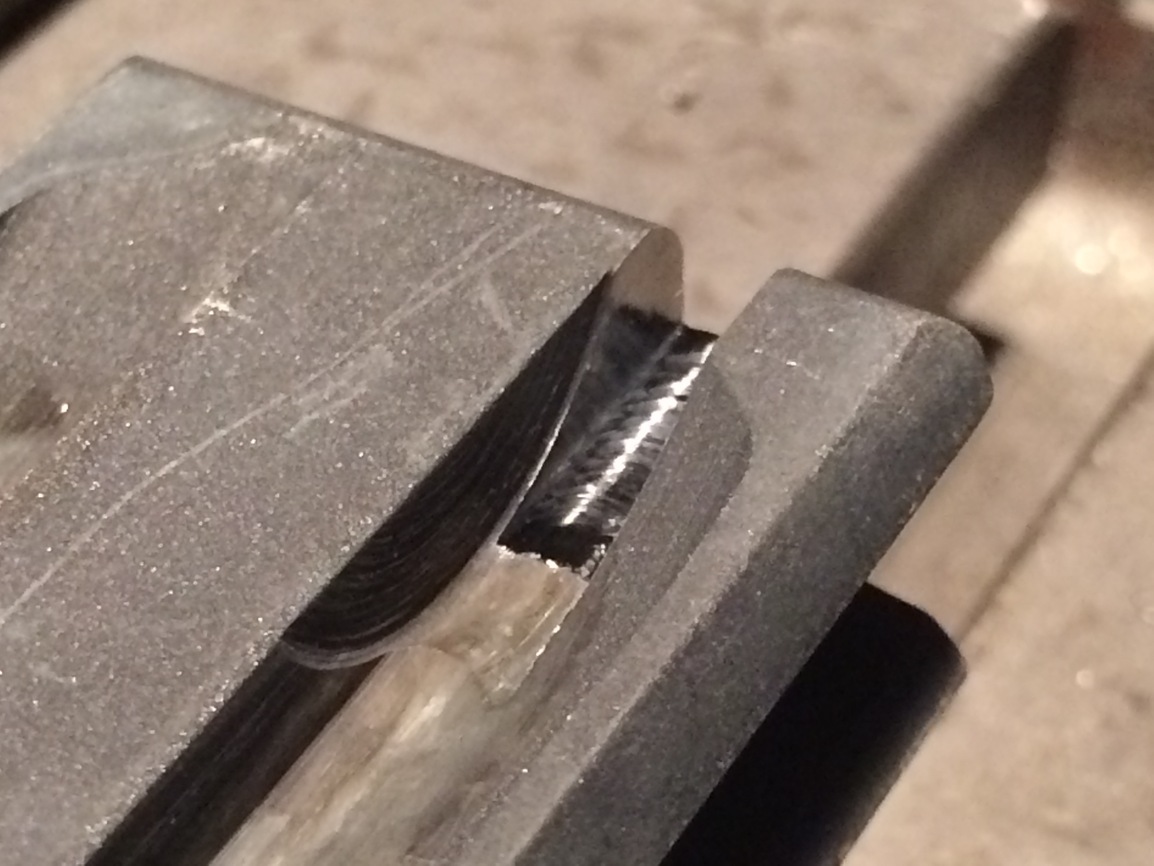
For clarity sake I don’t have the bolt in The trunnion, but you can see from the picture that this one measures out at .007” of head space. The spec for a HK G3 is .004-.020 if you are getting a larger measurement or smaller you can buy smaller or larger diameter rollers and install them into the bolt head.
For this build you can buy a flat receiver and tooling to bend it into its shape. The problem with doing that “at the time of this and in my location” you can never sell or give some one this firearm or receiver. In the end you will have to 1. Submit it to the BATFE, or destroy it with 3 torch cuts. They even need to be a certain width of cut.
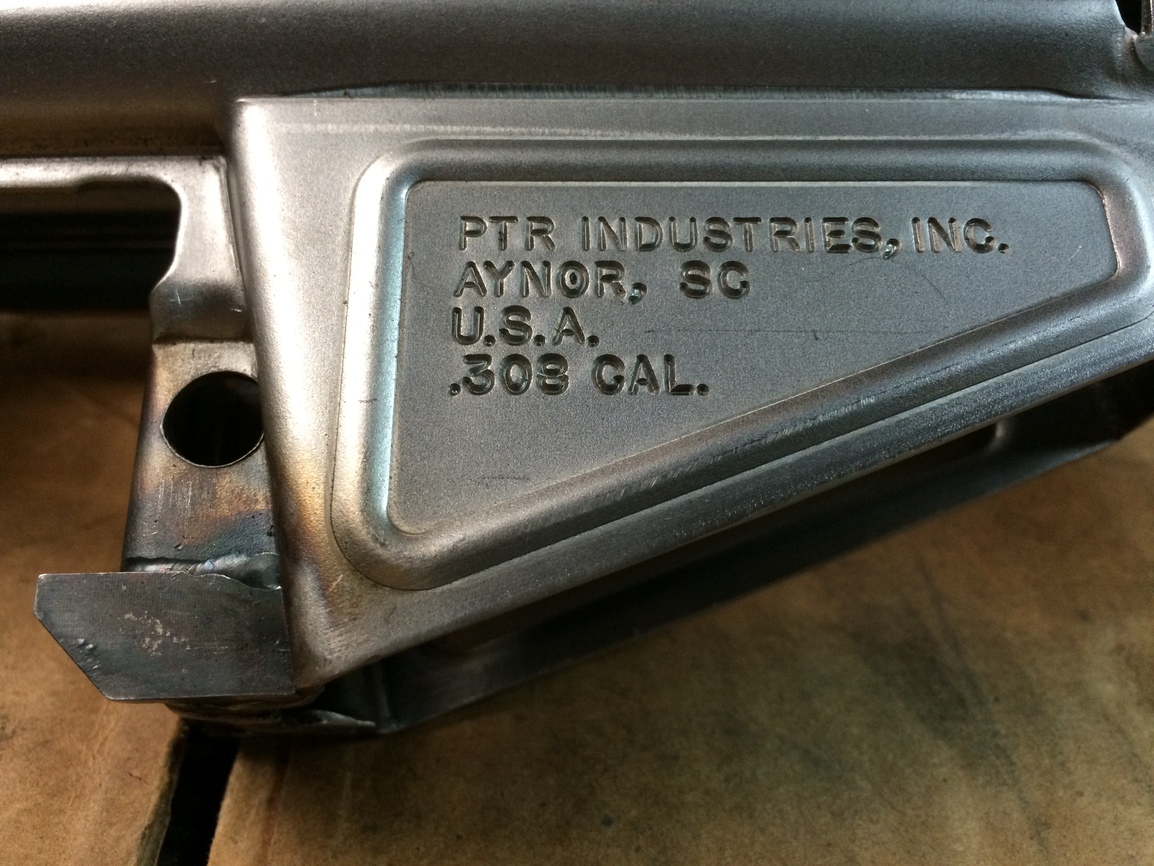
Because of this I opted to use a PTR for a few reasons.
- @ThisOldGun recommend it.
- This is a firearm and a S/N. So you have a FFL transfer so in the future I can sell, or hand it down to my kid!
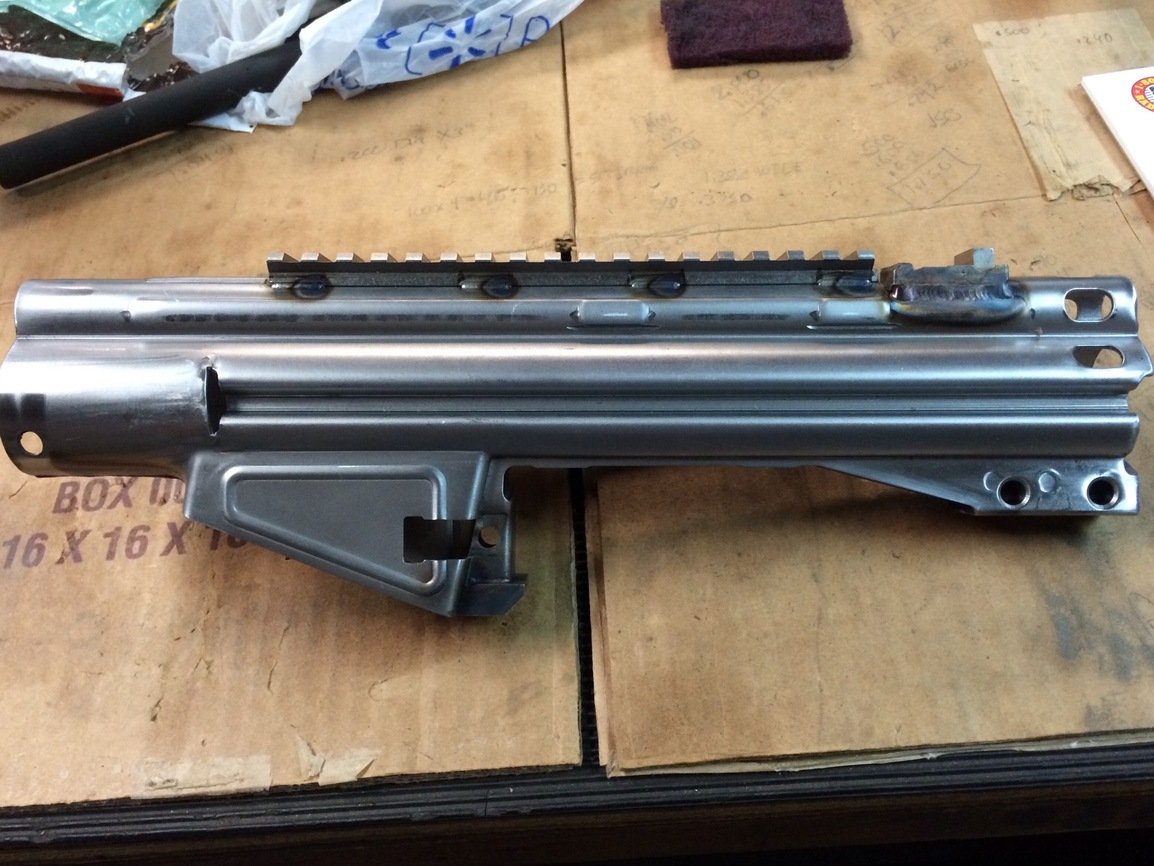
- PTR bought HK machines for all their builds so for all intents and purposes it’s a HK receiver built by PTR.
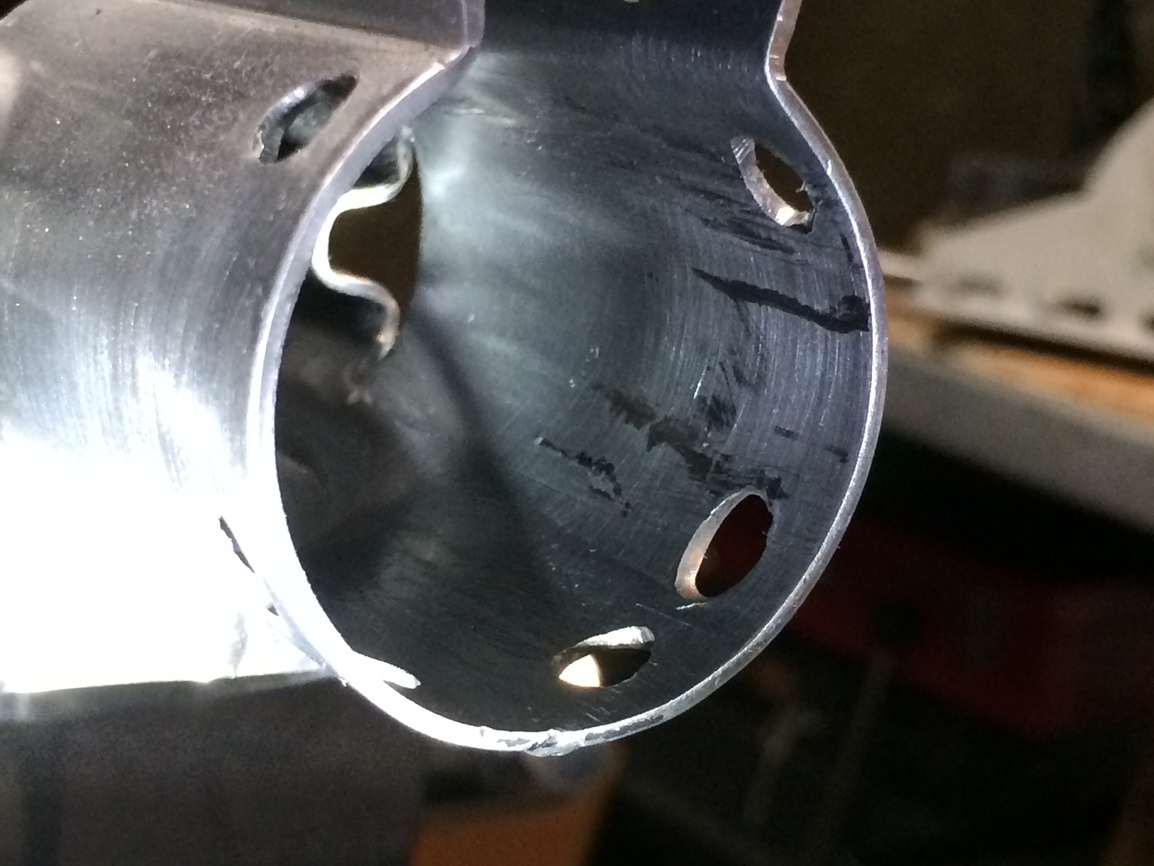
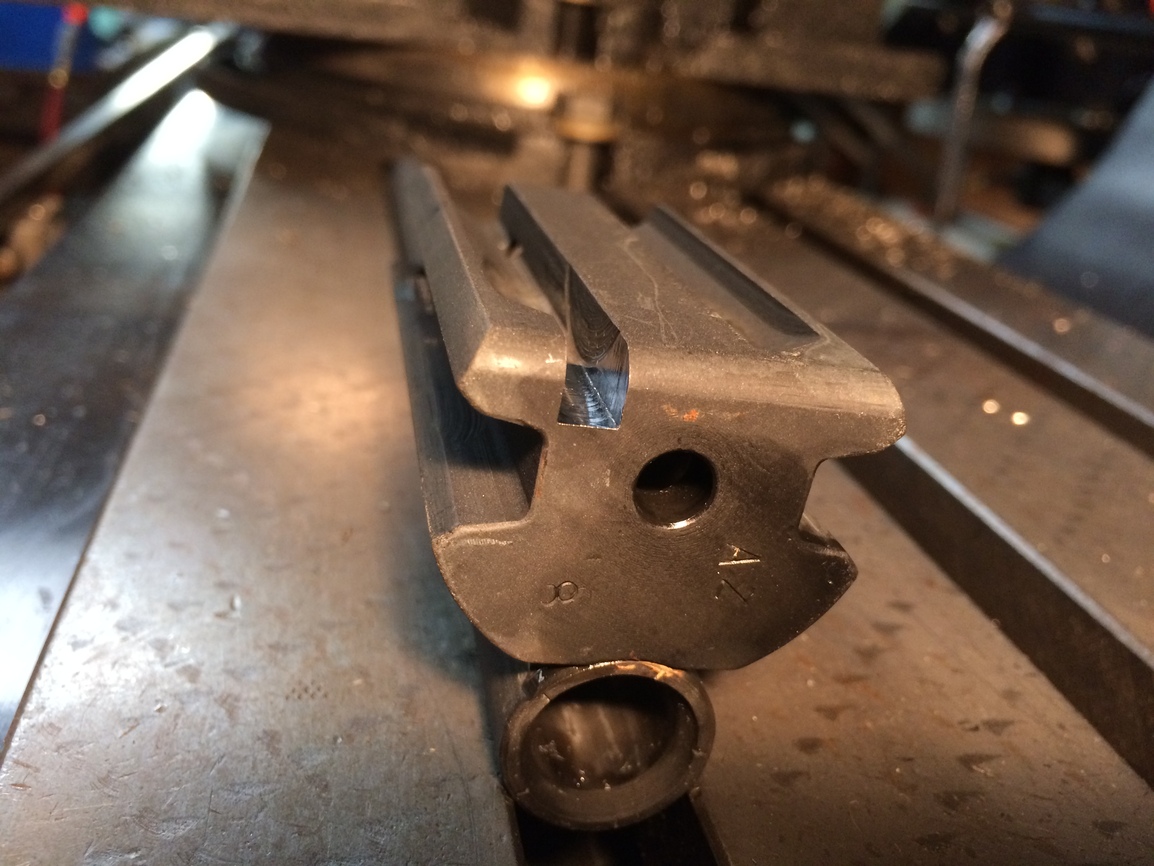
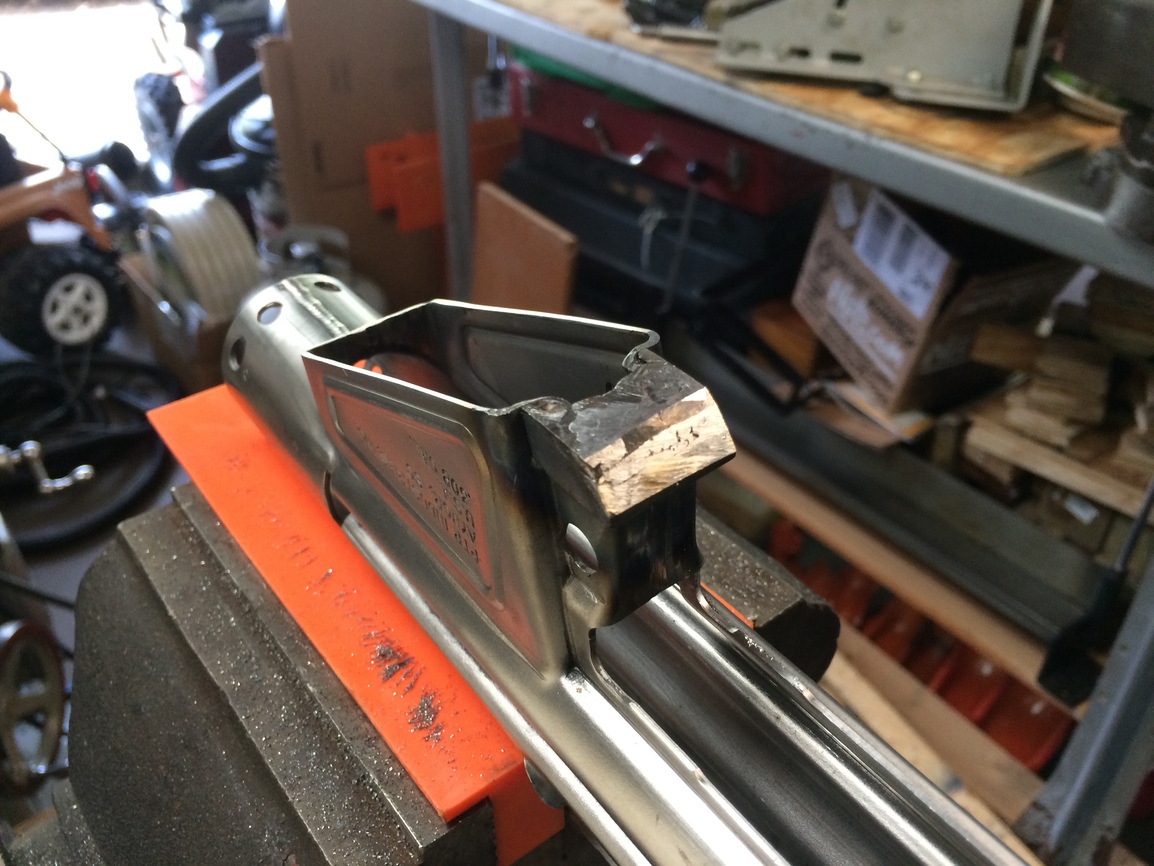
- They have a pica tinny rail already welded on them, rear sight base, rear pin reinforcement plate, and the full auto blocking shelf welded in already.
- This way I avoid buying expensive bending jigs that I most likely will not use again.
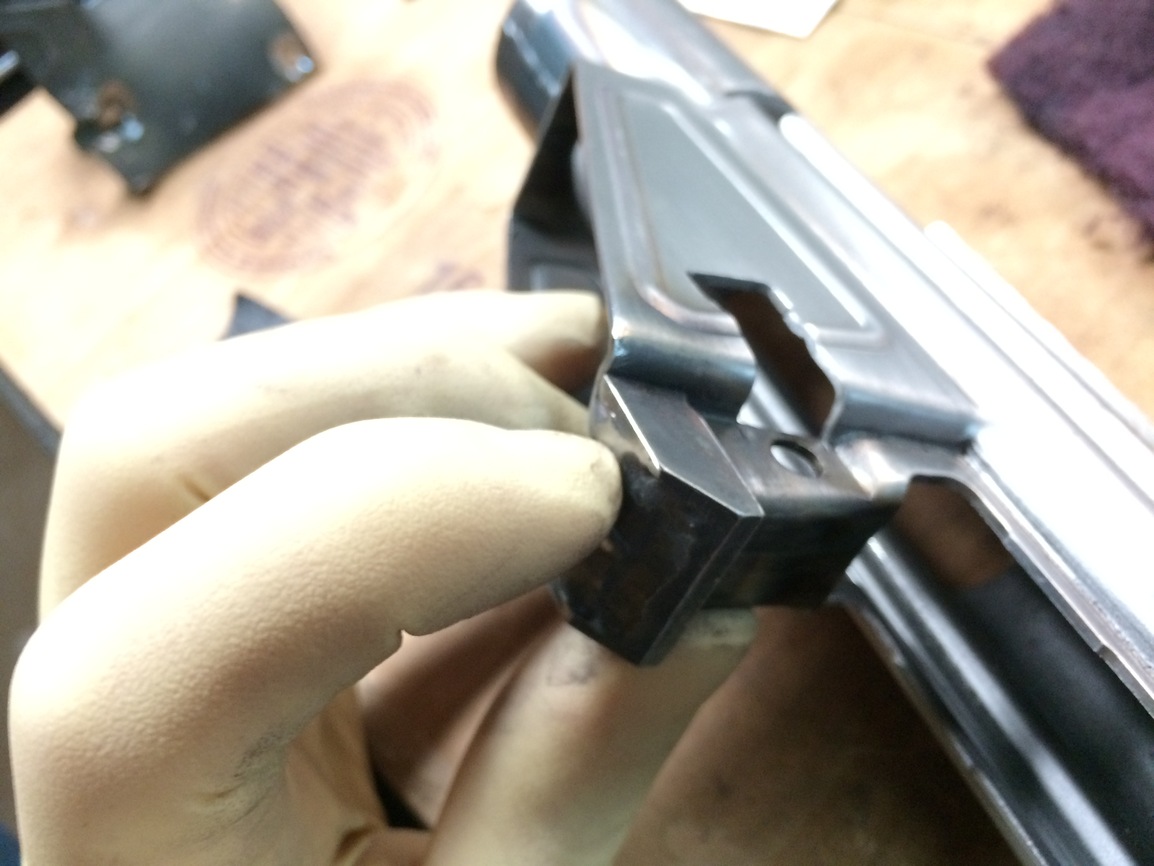
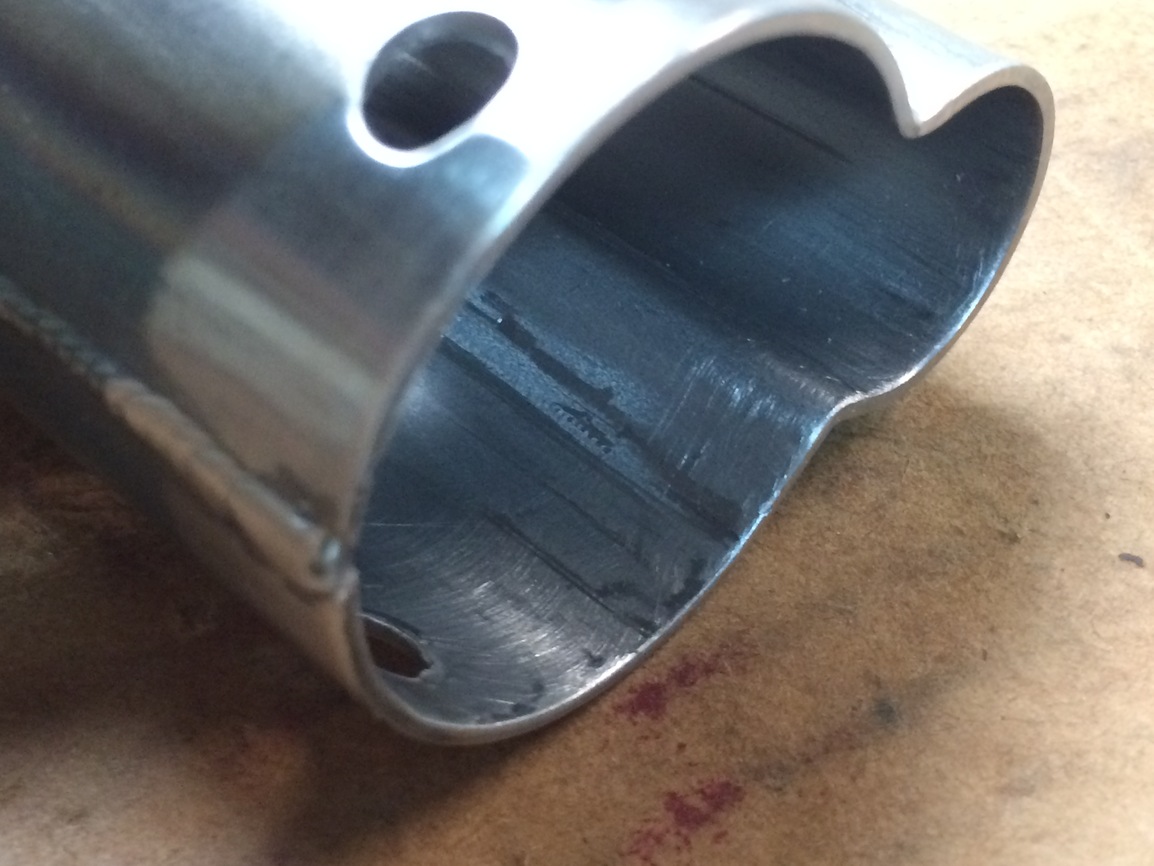
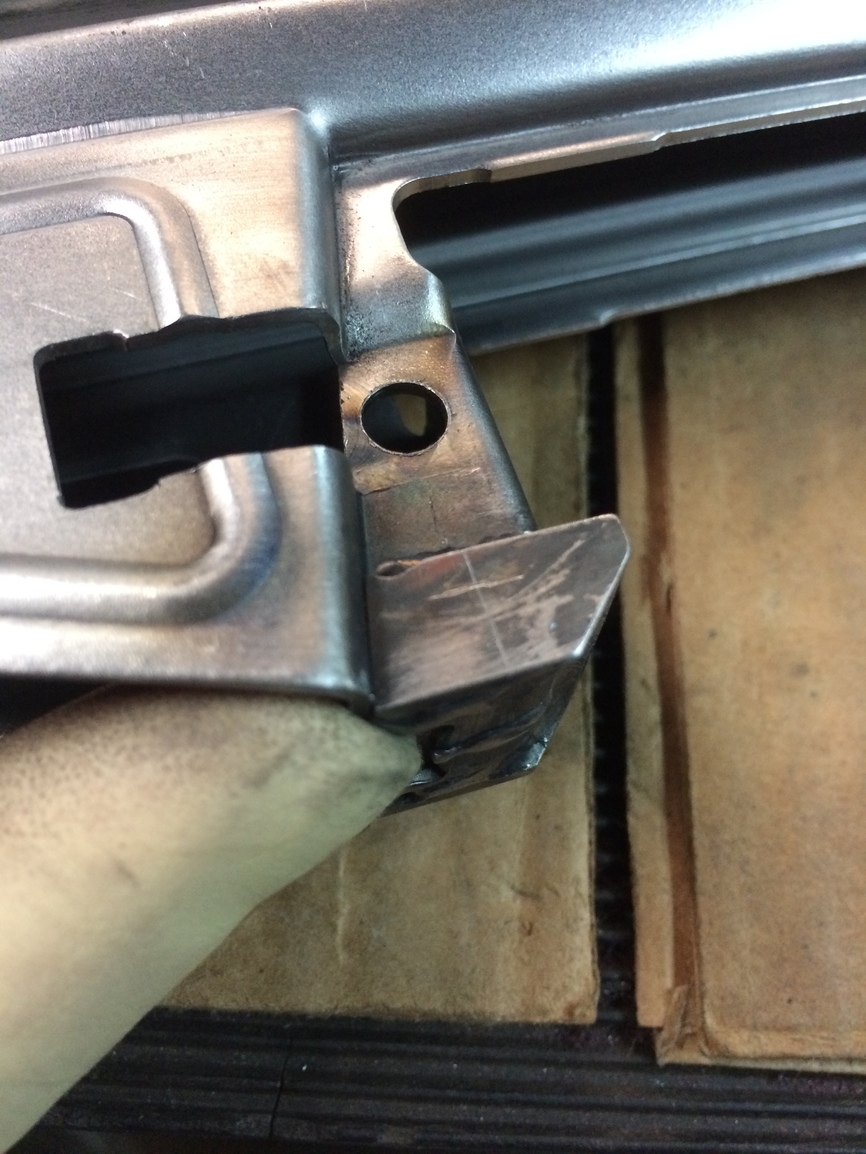
Next de-bur all of your edges to make them less sharp. Also break the edges on the full-auto blocking shelf (those can get very sharp).
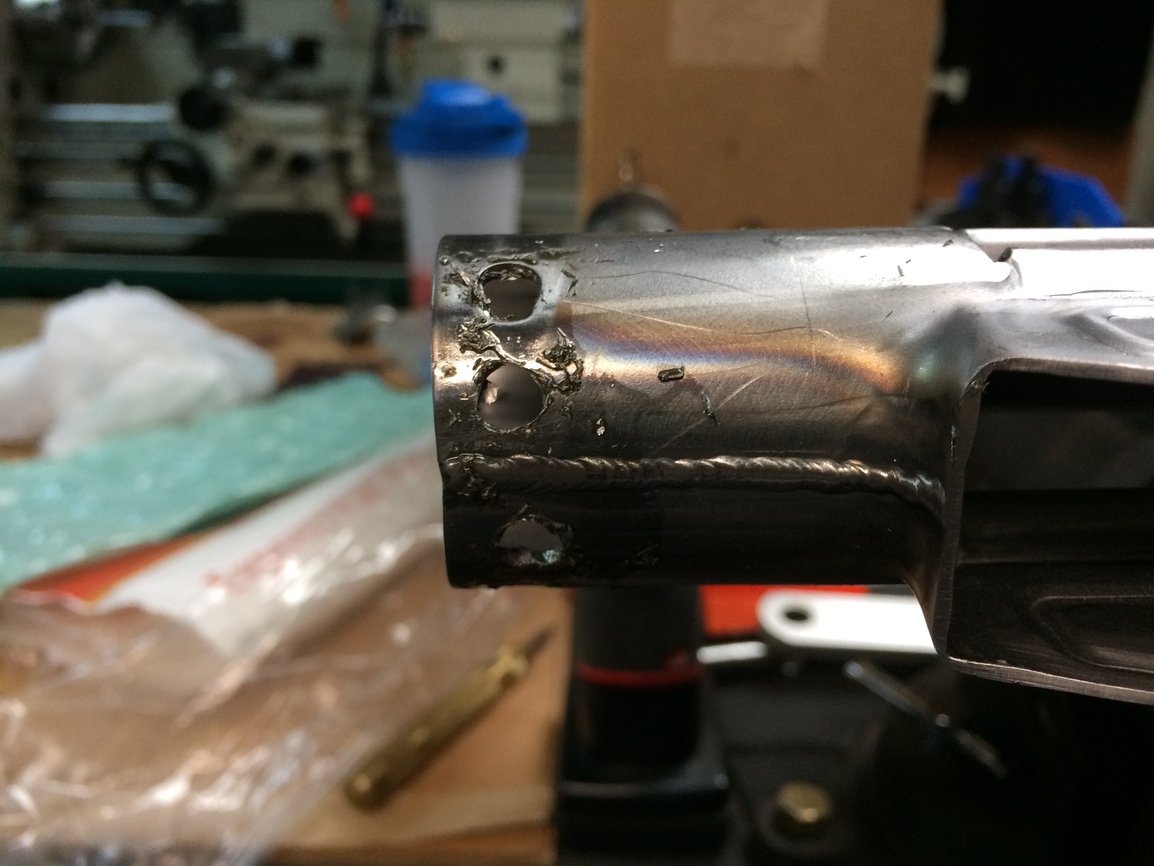
You can now plot out where you are going to drill the holes for your spot welds on the trunnion and charge tube. Mine are 1/8” so I just used a 1/8th drill bit.
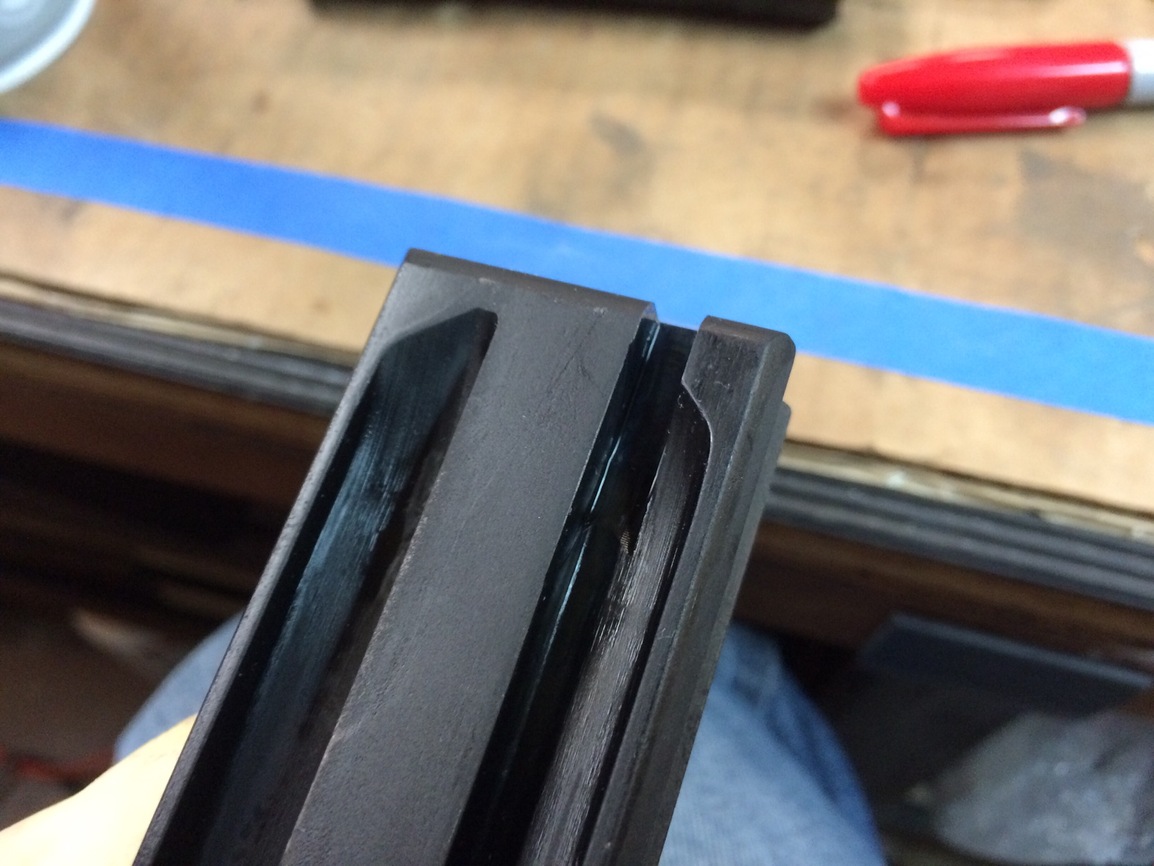
Now carefully insert your trunnion and see where the scratches are. Lightly sand with 200 grit or higher. Scotchbright works as well to make the parts fit better.
You can also use a file, lightly if needed.
Continue to fit and sand as needed until both the trunnion and charge tube makes contact with the receiver stop.
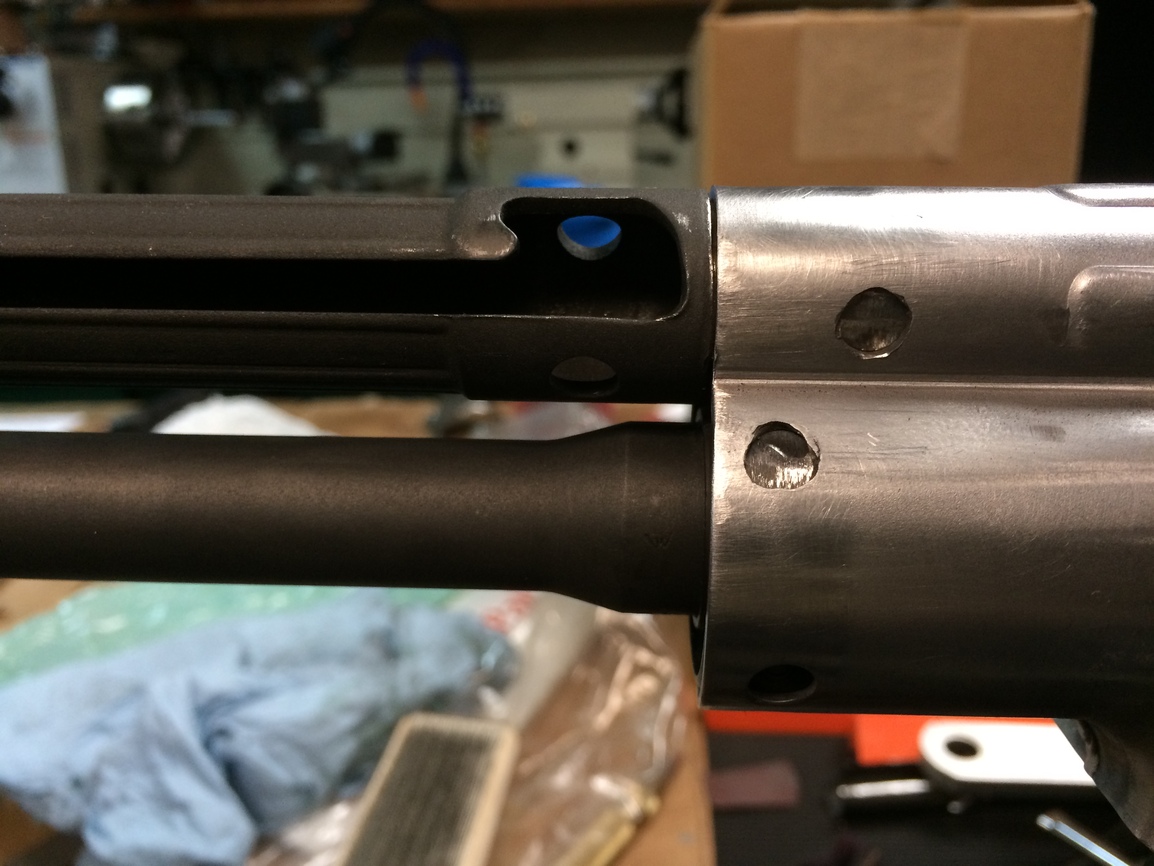
Install the rest of your parts to check for fit. Make sure you are happy with how everything fits, it’s easier to do this now rather than later when you have the metal parked, painted, or blued.
Remember Be safe and have fun!


 more better