Have a smoke bronze tester going to try that next maybe.
8 Likes
Smoke Bronze is a great color
6 Likes


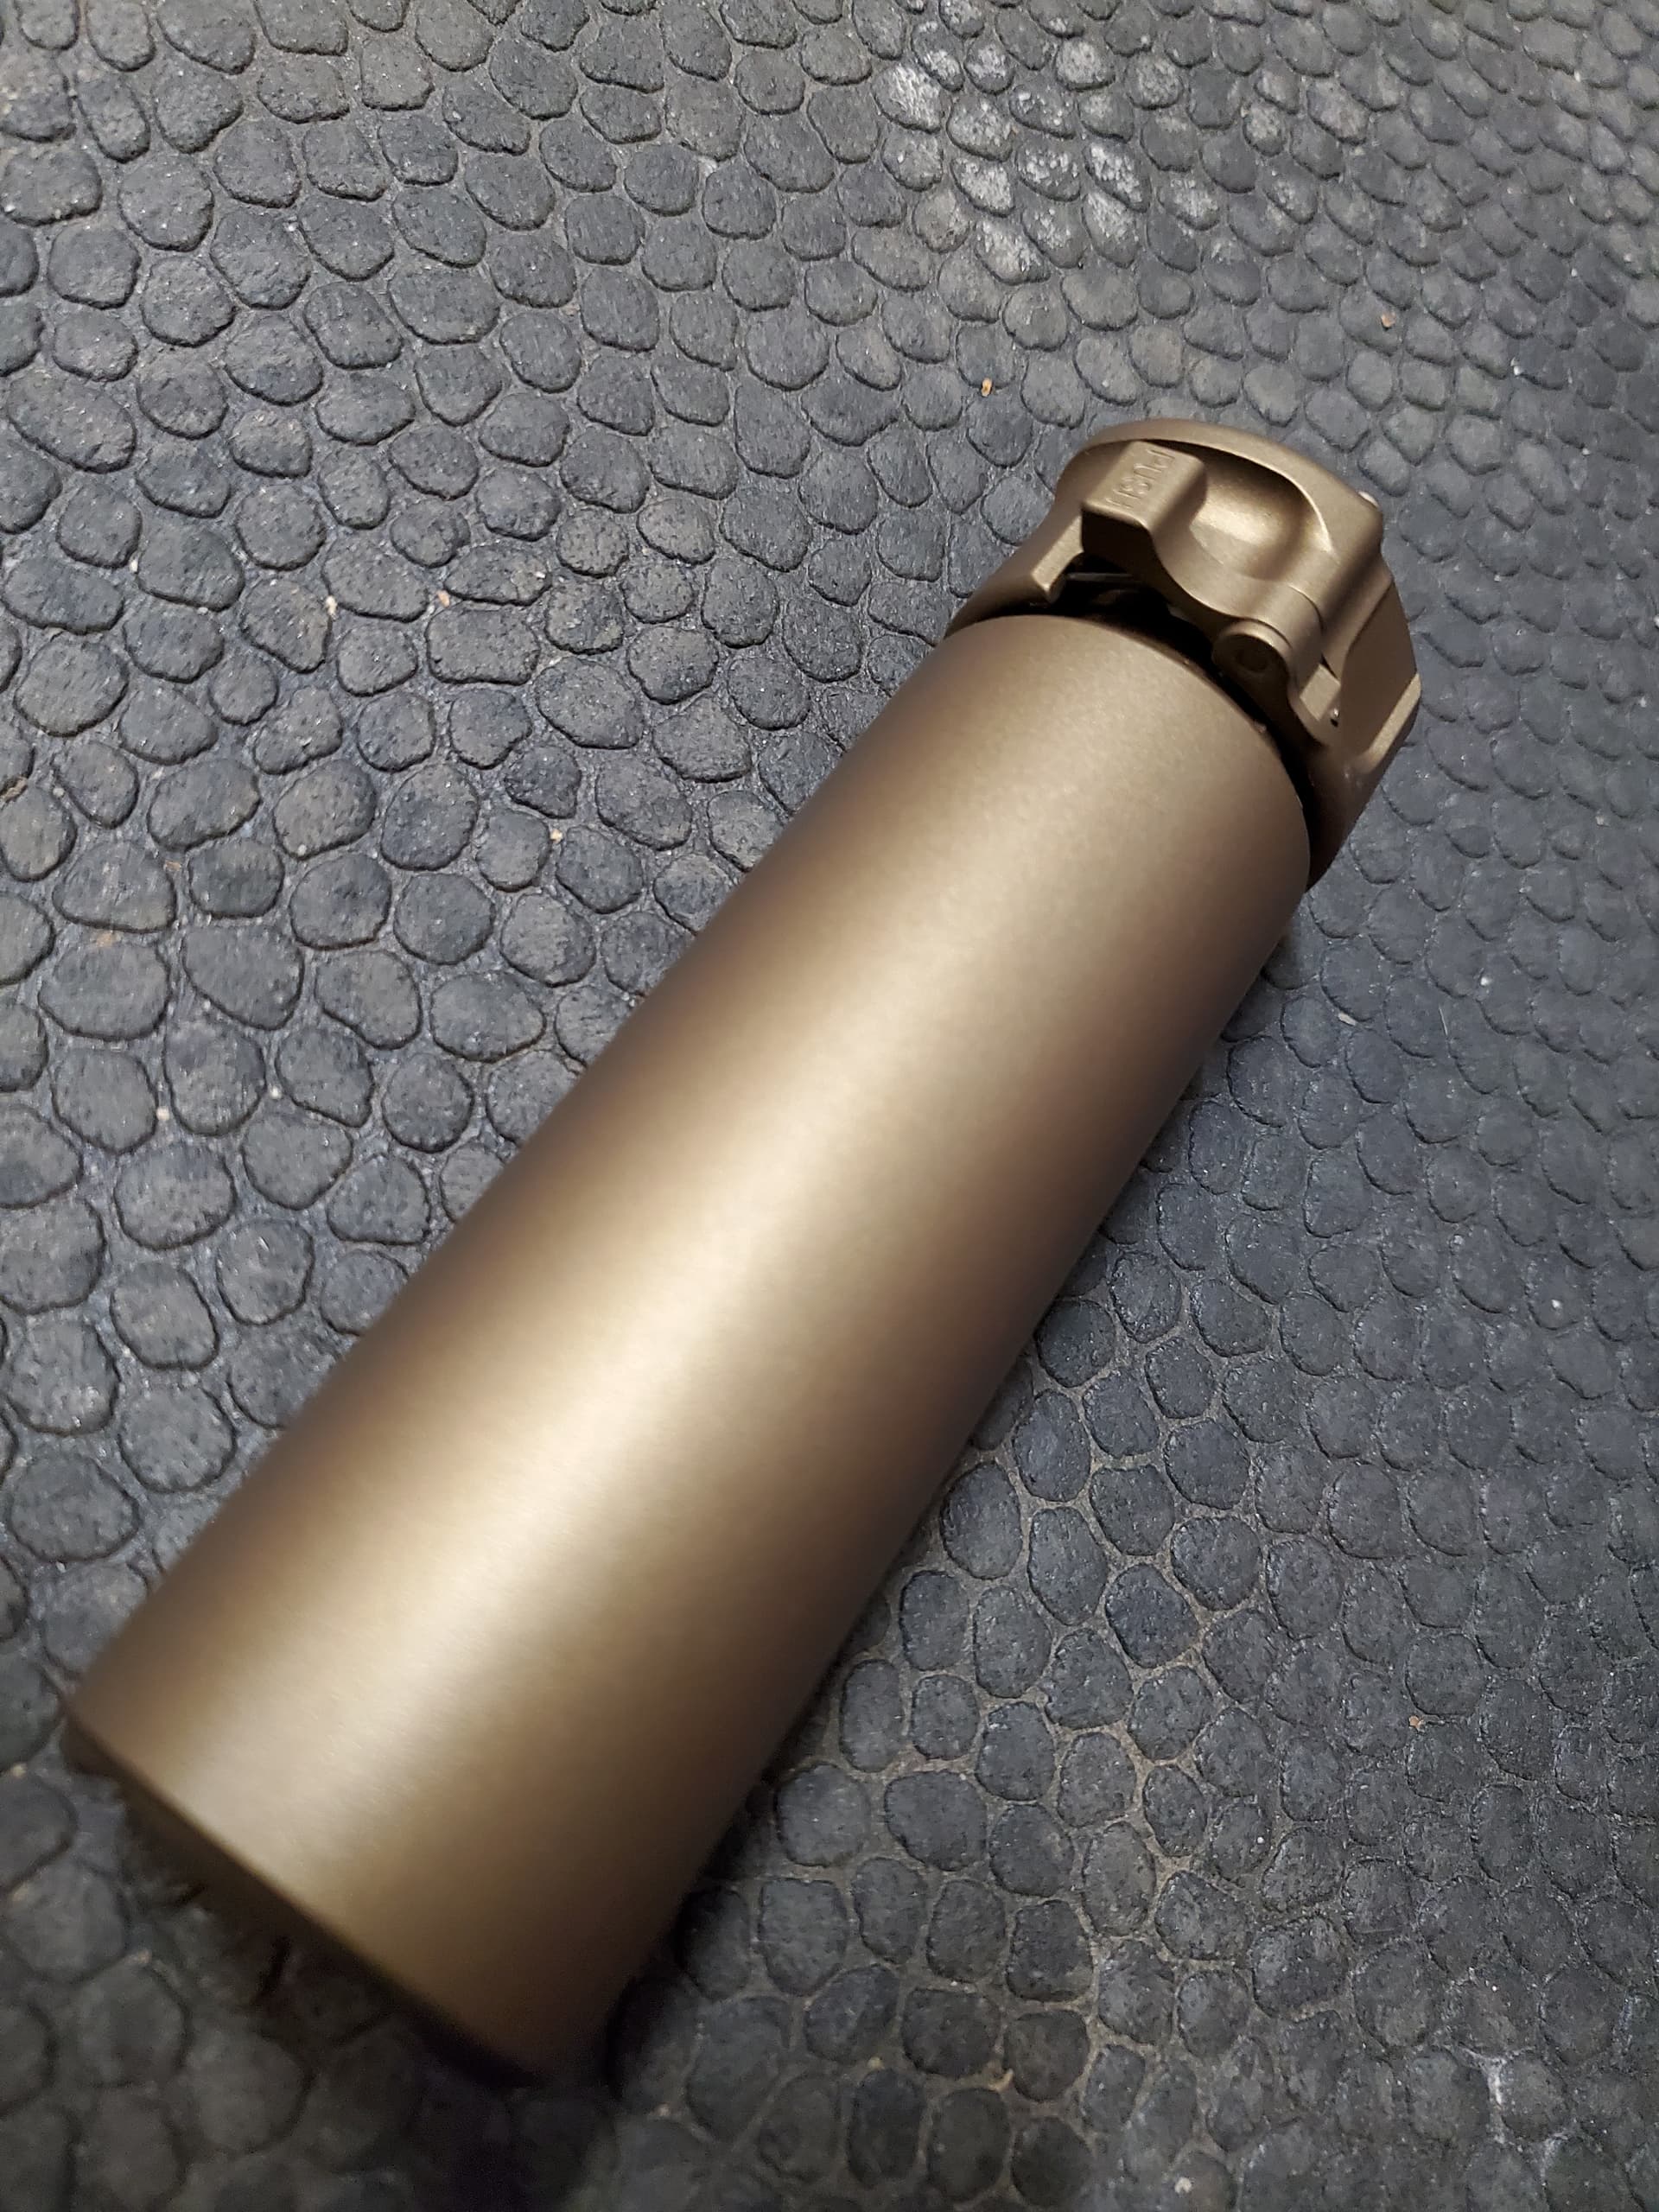
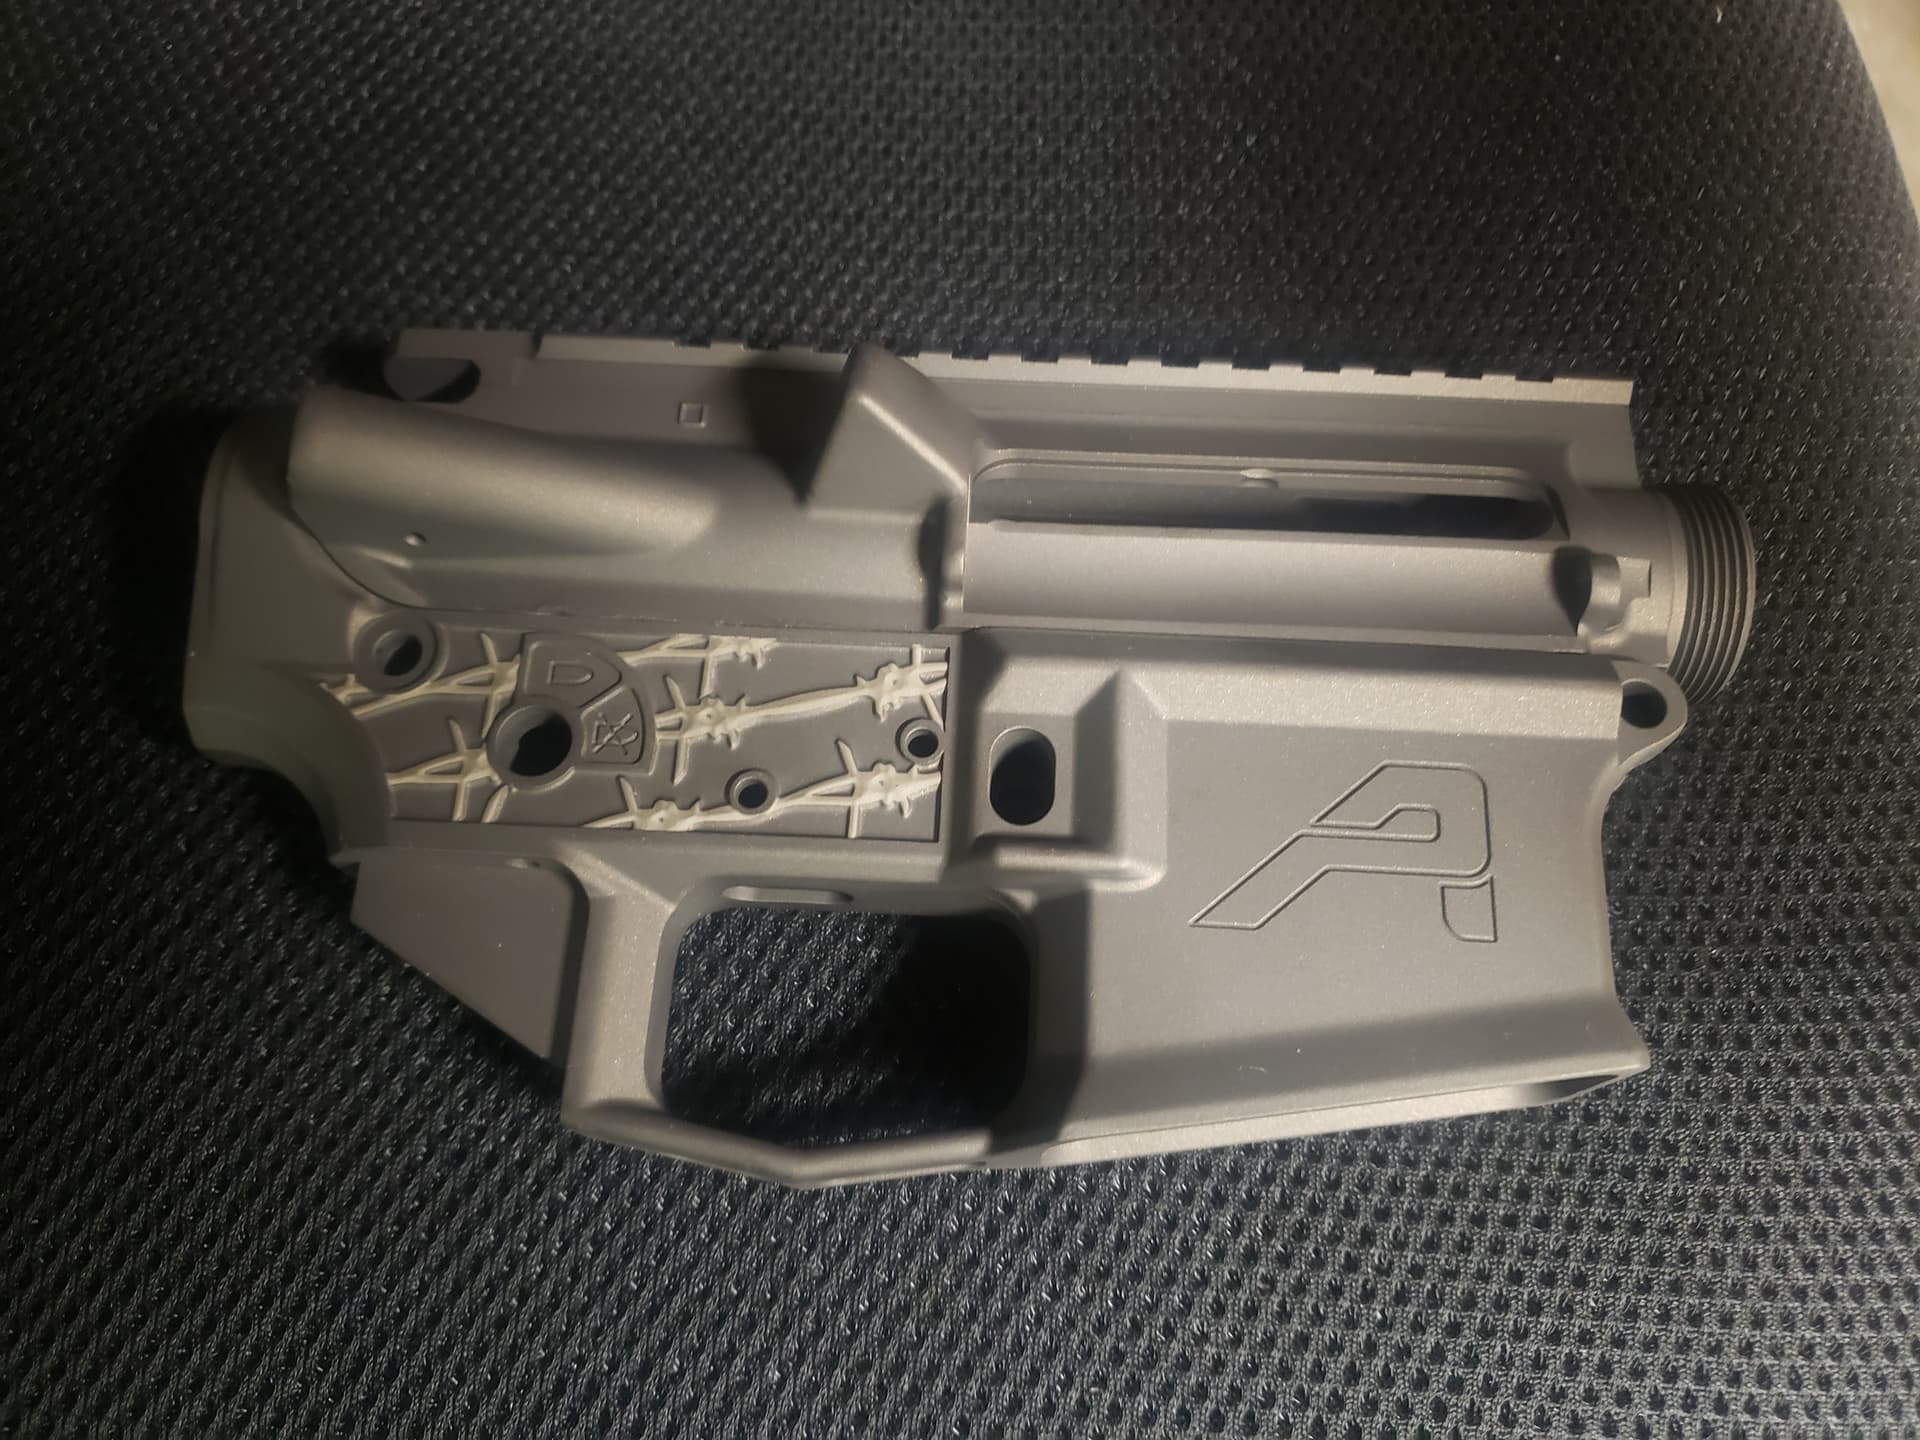


Smoked Bronze mixed 50/50 with Graphite Black. A little Titanium flash coat on the barbed wire exposed with the laser.
10 Likes
Really nice!
8 Likes
Why C series? Wouldn’t H be better for the heat?
7 Likes
Nice.
6 Likes

C series is 800-1800 IIRC, H around 400 F
7 Likes
Well dang, I’d have thought the heat cured one would be better for high heat applications. I’d thought about carakoting my exhaust heat shields, but I’m gonna go with high heat primer and paint first (easier). If that doesn’t work out well, I may consider cerakote at that point.
8 Likes
RGW has a thread on cerakoting headers, head combustion chambers, etc. around here somewhere. Maybe V series or E series.
9 Likes
Cool!
7 Likes
There are several Series of Cerakote that can withstand high heat. Glacier series can withstand 2,000 ° F so there are several options. C Series will usually go well anove 1200 degrees depending on color.
8 Likes
@RogueGunnWorks
Question about the single action revolver you did a while back, did you remove the barrel or just leave attached to the frame? I am doing one, removed the barrel, but now thinking should I shave the face of the frame / shoulder of the barrel to allow for the coating thickness? Reassembly (without scratches) will be the next question!

9 Likes
@albroswift , no offense but the barrel looks like it has scratches on it . Was you sanding it smooth first before cerakoting ?
6 Likes
I am by no means a gunsmith but whats the means for screwing the barrel back in ?
Wooden blocks ? Rubber pads and wooden blocks ? How does one do that anyhow?
7 Likes
It was a rusty, scratched up little bugger. Some of the rust lines are the type from laying flat under the seat of a pickup Damascus kind of rust lines. Will probably not all go away. Going to spin it on the lathe with wet/dry, then blast again. Try to hide some with the laser. This is more of a practice project before I do a nice one. The trick to removing the barrel was fold a couple feet of gorilla tape in half long way, then wrap it round and round, then wood blocks in the vise after soaking the threads overnight with PB Blaster. Long wood piece through the frame to twist. The duct tape is the trick. only way to grab something round and not have it slip.
I think for reassembly torque I’ll do just the mating surfaces first with Microslick, assemble with the ducktape system to get the barrel clocked correctly, then remove tape, acetone bath, reblast the whole thing, and then cerakote. Lot of work for a $100.00 rusty revolver.
10 Likes
I dont suppose cylinder gap is any issue at all. But on a model with bigger caliber where it is a more crucial matter that definitely would be a great time to shrink that cylinder gap. Man oh day wished I knew more about how to do that and not screw stuff up. I actually have a lathe.
8 Likes
